Welcome to MoneyThumb! Thank you for choosing us to be the solution to your financial document conversion needs. This guide walks you through on how to use the Insights UI.
To log into the Insights UI:
- Select the link in your Welcome email. It should be one of the following.
https://online.moneythumb.com/pdfinsightstp — PDF Insights with Thumbprint.
https://insights.moneythumb.com/pdfinsights — PDF Insights.
https://insights.moneythumb.com/thumbprint — Thumbprint standalone.
- Type in username and password.
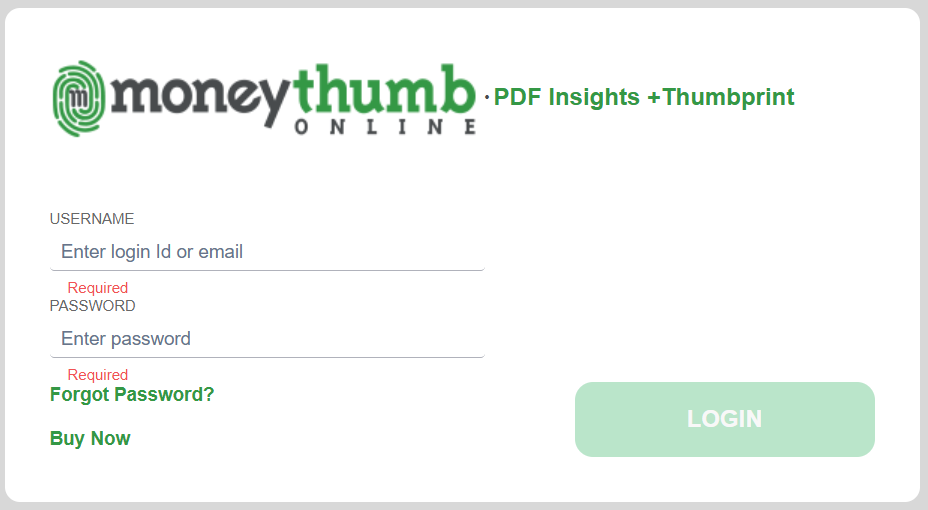
- Click Login.
Once you log in, the Home page appears.
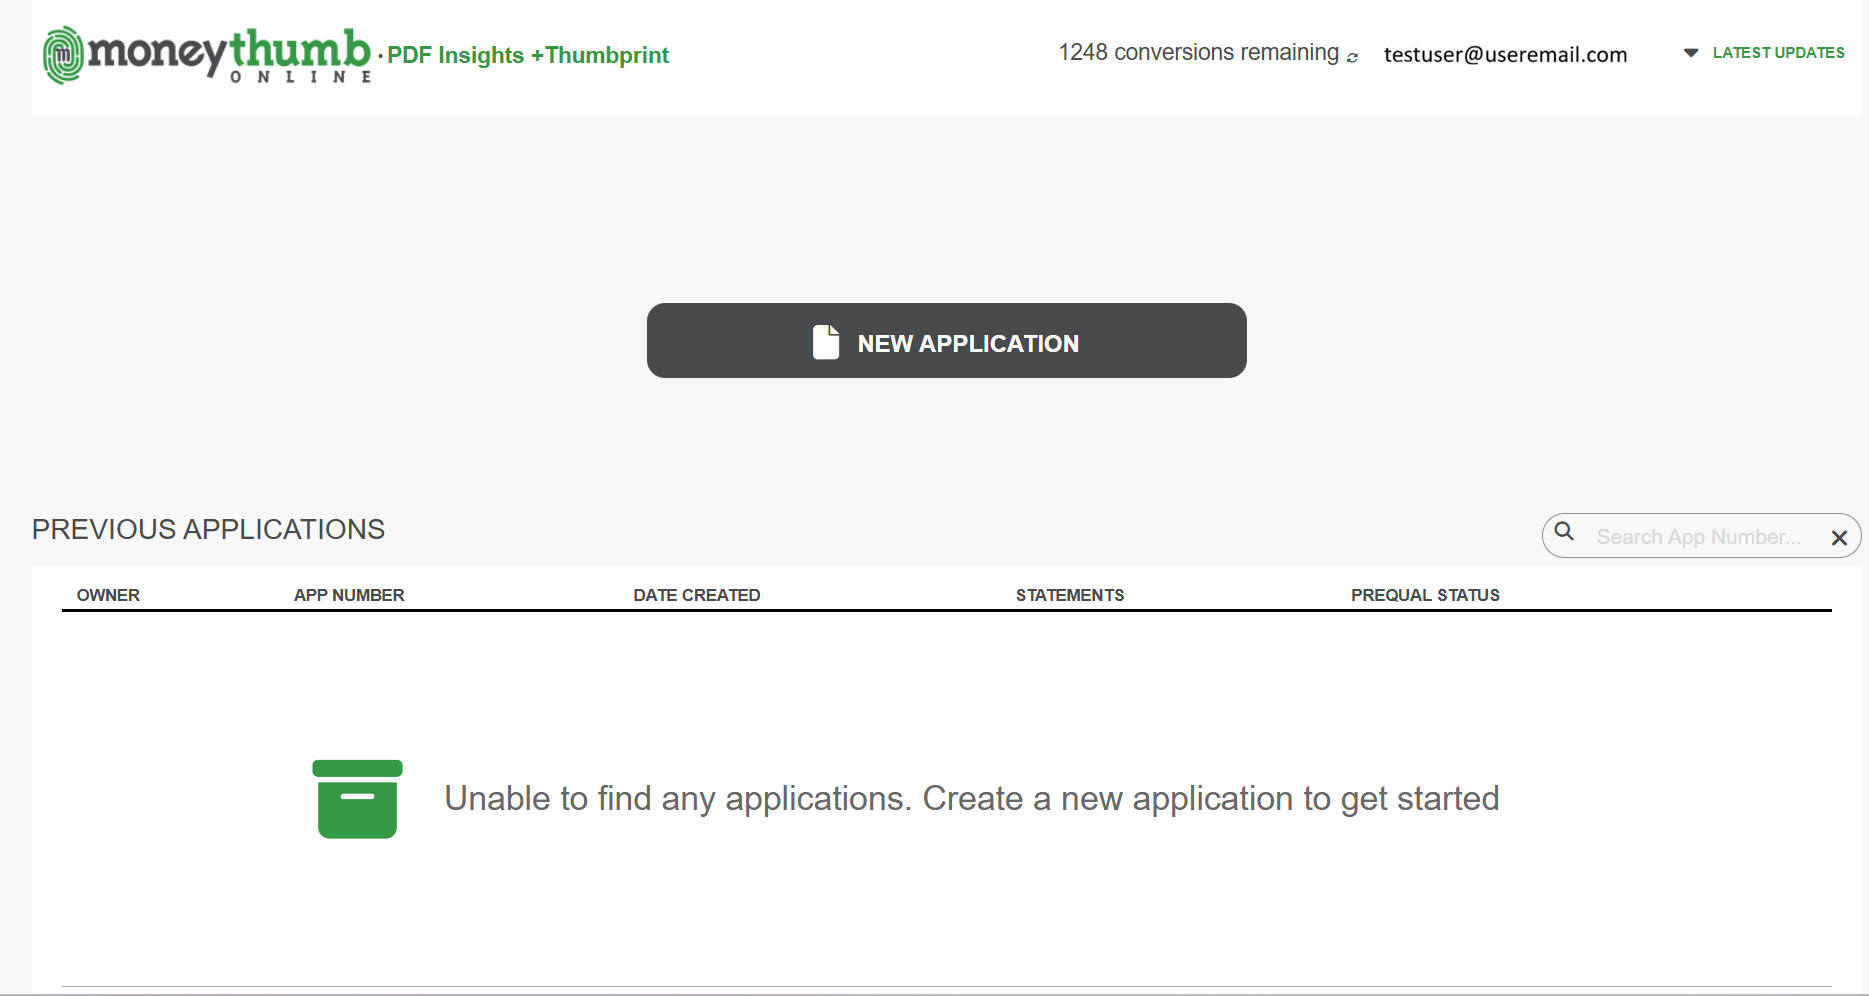
This page has the following:
Conversions remaining: Shows how many conversions you have remaining. If you need more, contact your Admin.
User email: Shows your current account email. Hover over your email to access the drop-down menu to log off or contact MoneyThumb Support.
Latest Updates: Click this button to see our Release Notes.
New Application: Click this button to run an application.
Previous Applications: This section shows the applications you've already run.
 Note for Admins: Make you sure set up the settings for your underwriters so they can run applications successfully. For details, see Underwriter Settings section of the Admin Settings Guide.
To run your first application:
- Click the New Application button.
- Name the application. See example.
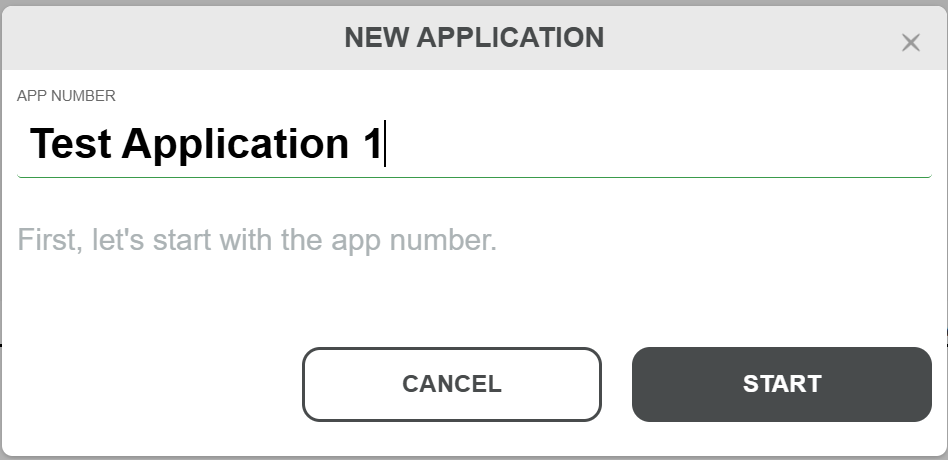
- Click Start.
The Application screen now appears.
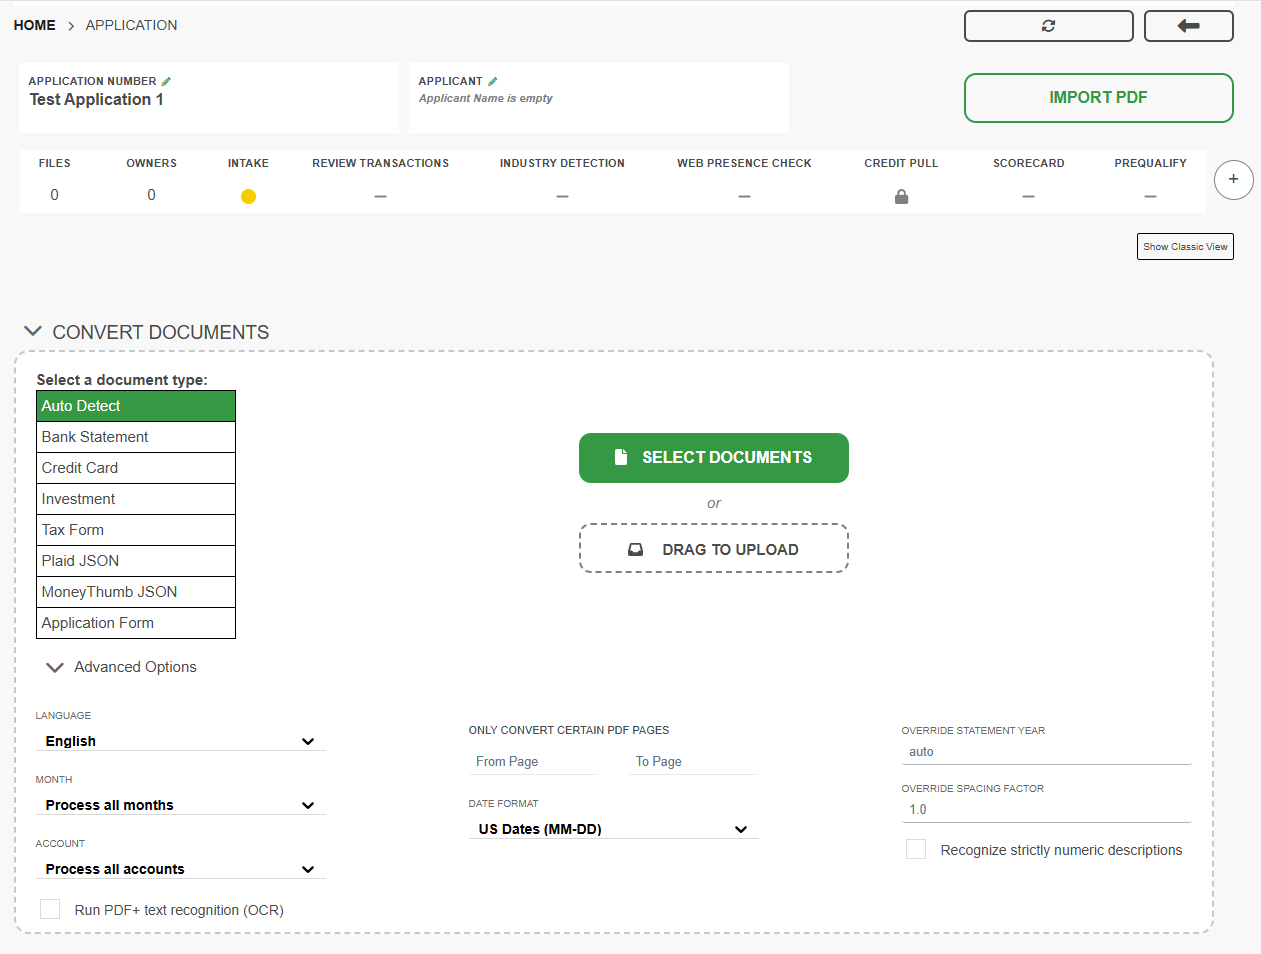
- Select a document type. For details, see Selecting Document Type.
💡 Tip: If it's your first time running an application, leave the document type as Auto Detect.
- Upload the file(s) you want to run. You can either do this by clicking Select Documents or by dragging and dropping them into the Convert Documents section.
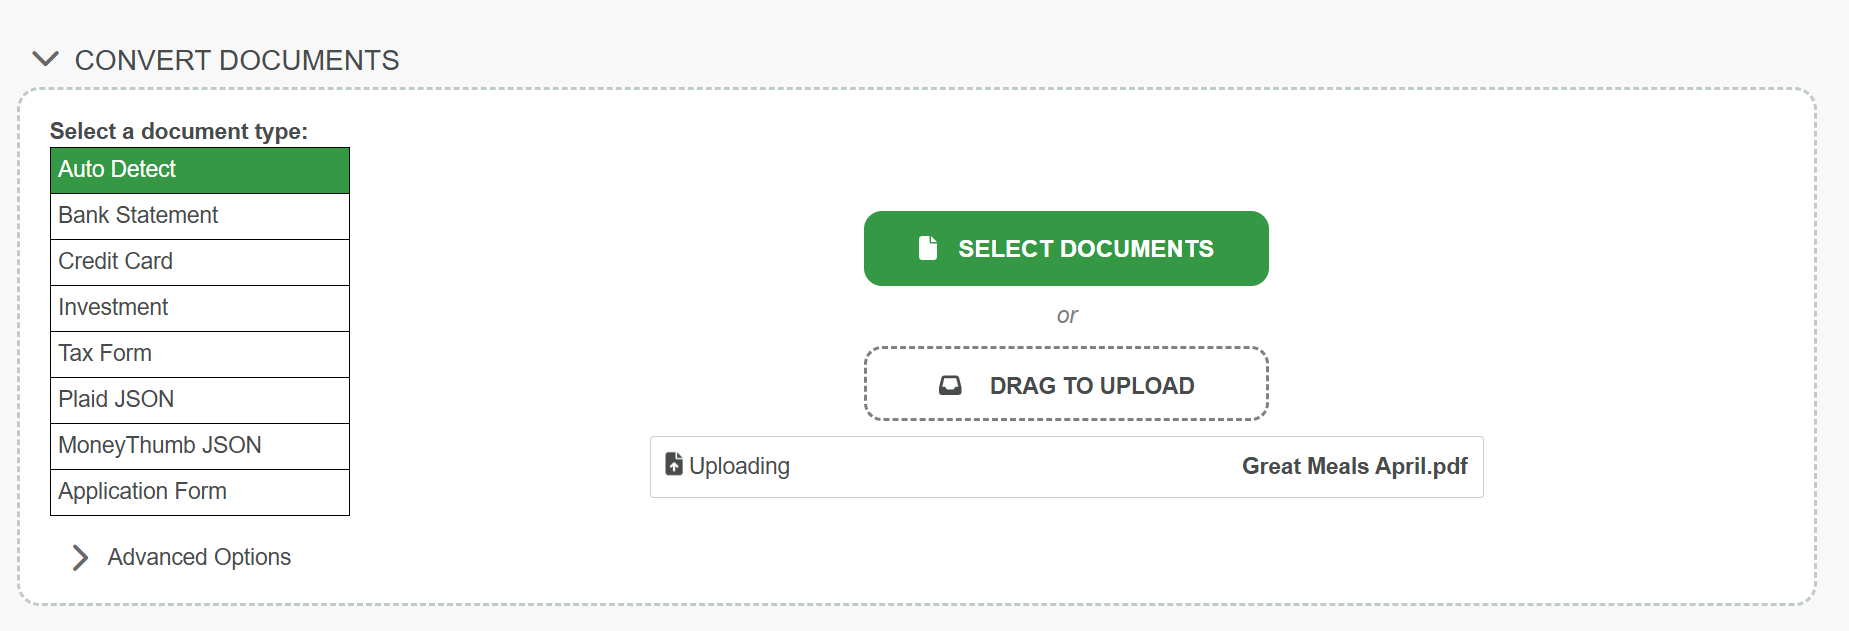
Once the file converts, the results appear in the Statement section.
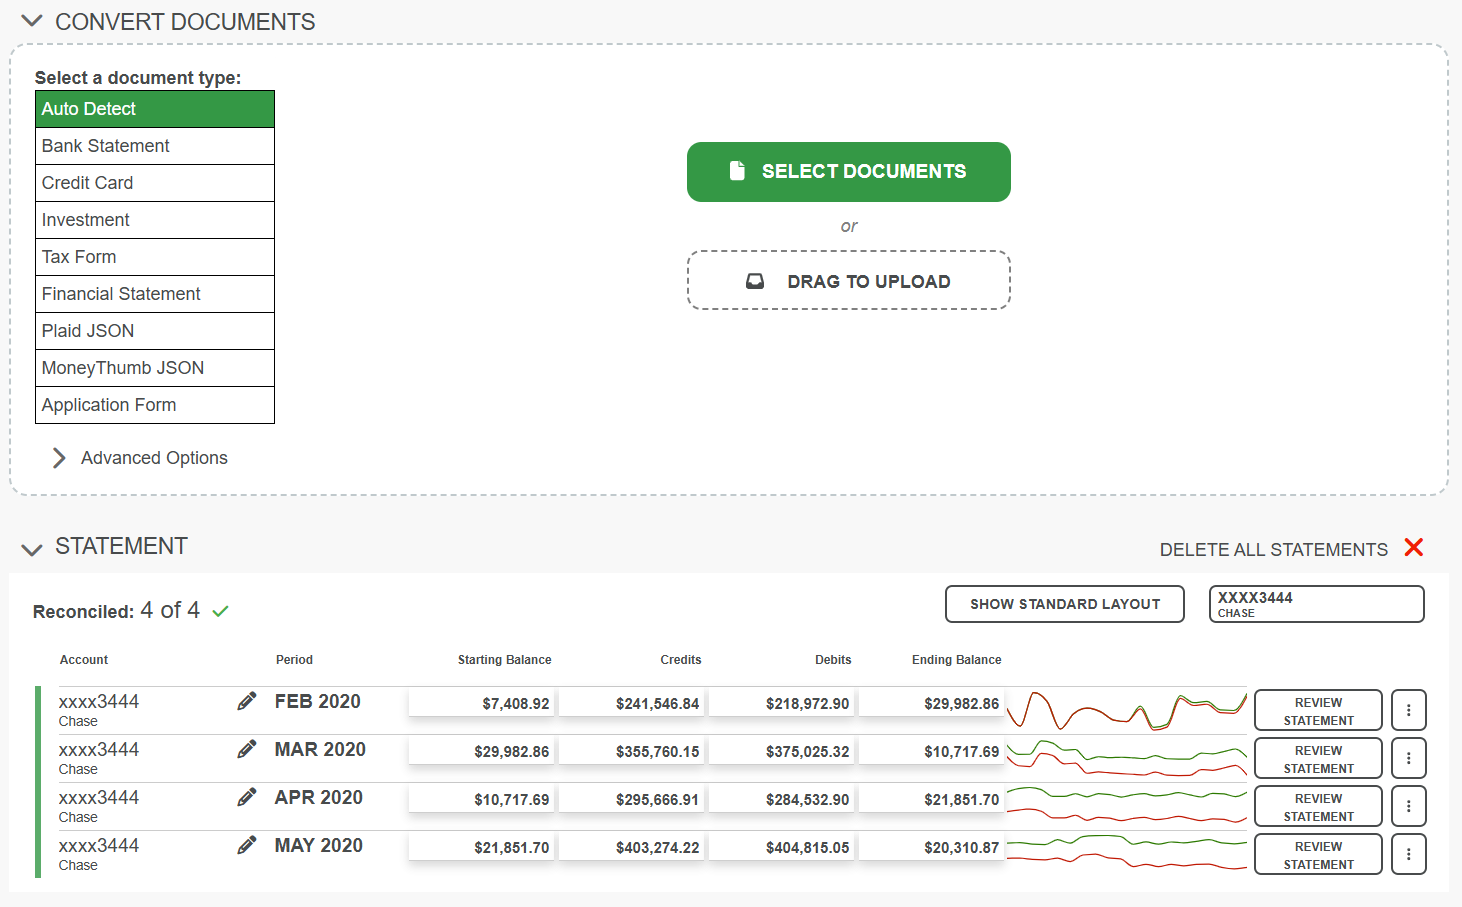
In the Statement section, you can see a high-level view of a statement in a document. If you click Show Standard Layout, you can view whether the statement reconciled and whether there's a fraud score. Here's an example.
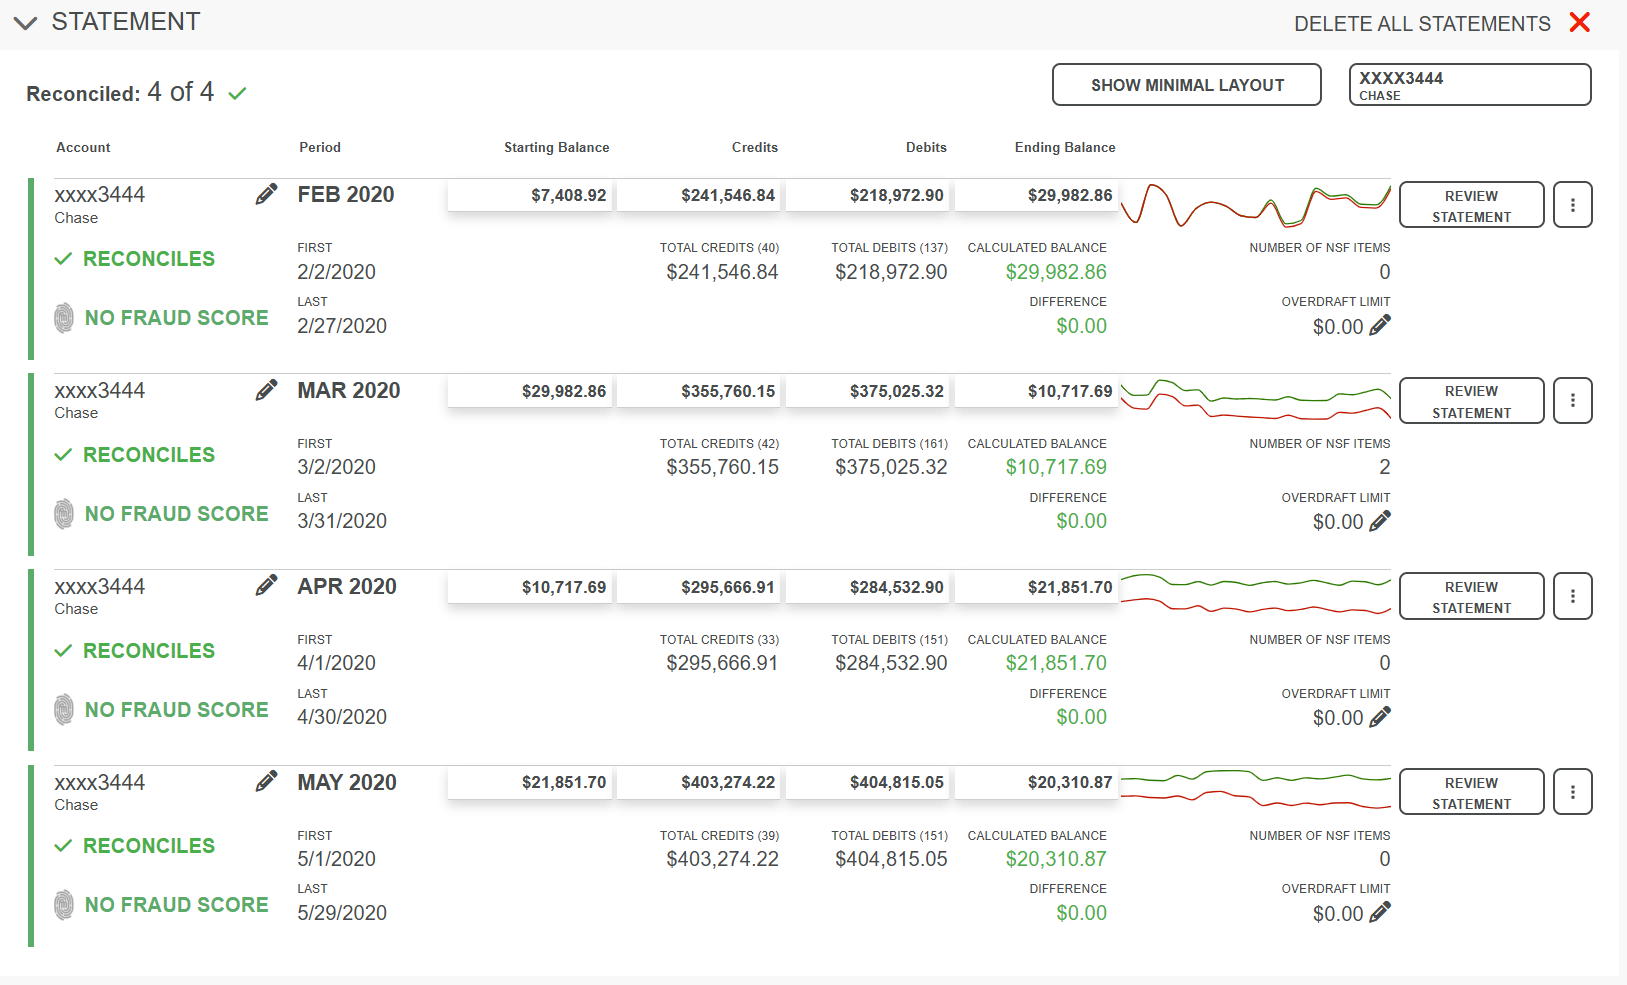
To review the details of a statement, click the Review Statement button. For more information, check out the Review Statement Guide.
MoneyThumb has an underwriting scorecard that gives details and metrics for an application's financial data. To see the scorecard, click View Scorecard.

Then, the Scorecard appears. Here's an example.
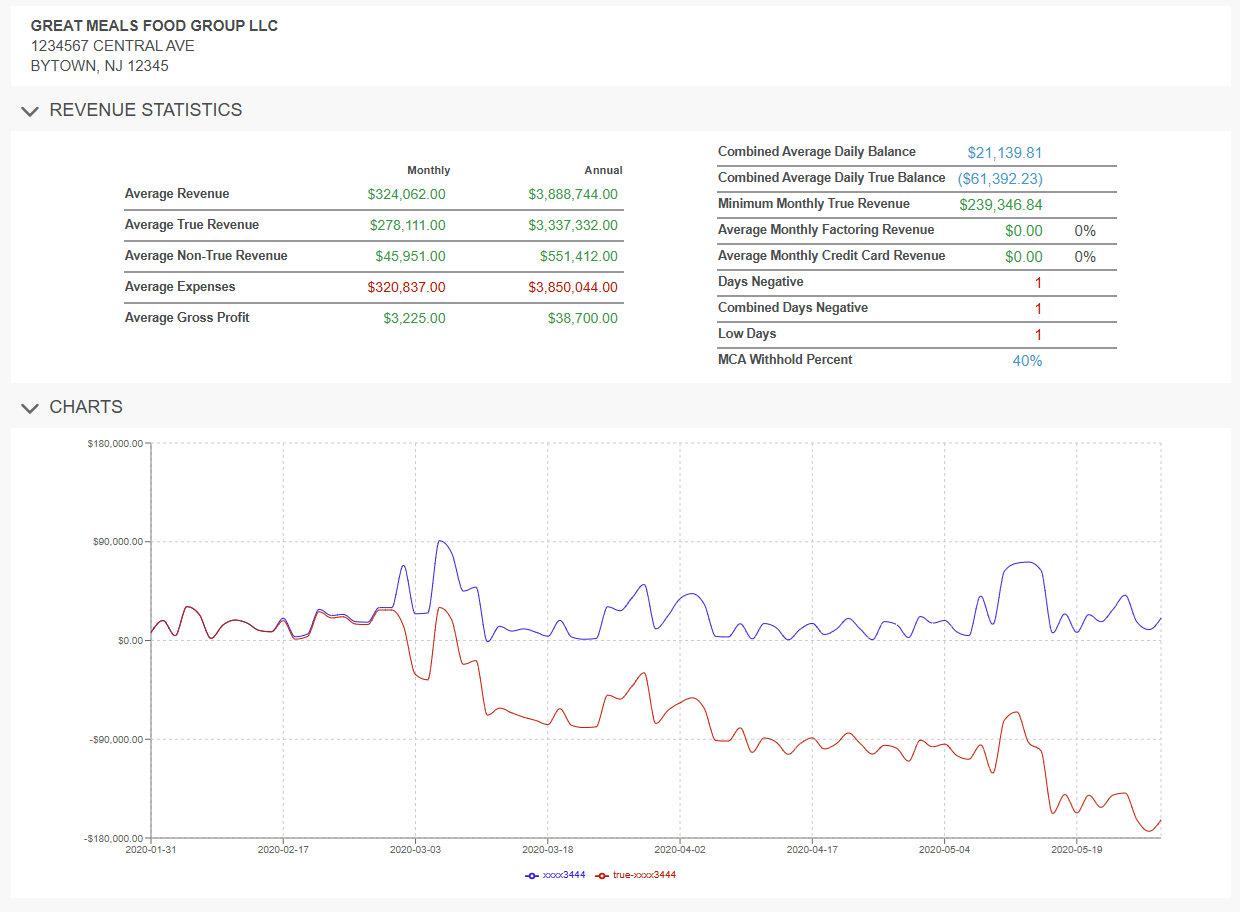
To go back to reviewing all statement, click Review All.

For details about what Scorecard section means, see Scorecard Reference.
If you don't see this option, contact your administrator.
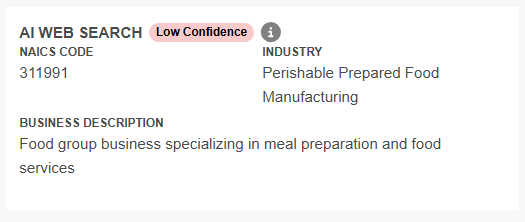
MoneyThumb has a AI Web Search function that helps you better identify a business. This AI Web Search gives you:
- The NAICS Code.
- The Industry Confidence.
- The Industry the business is in.
- A brief description of the business.
To perform the AI web search, click the Start AI Web Search button in the AI Web Search pane.
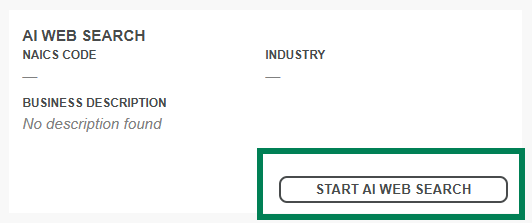
The search yields details and categories of a business. See example.
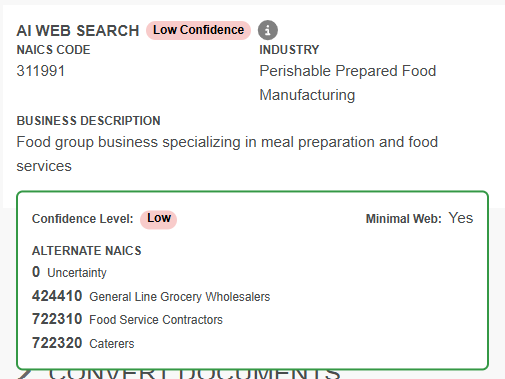
When you hover over the AI web search results, you can view:
- The confidence level. Depending on the results, it could be:
- Low Confidence
- Medium Confidence
- High Confidence
- Alternate NAICS codes.
- Whether it has minimal web presence.
Here's an example.
Now let's look at more actions you can use to enhance your experience with Insights UI.
The Select a document type menu lets Insights UI know which kind of document you are uploading.
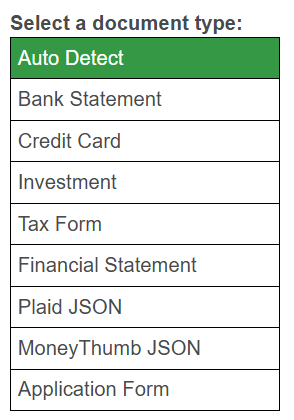
To use this setting, select any of the following options:
- Auto Detect: Insights UI automatically detects the type of financial document you are uploading.
- Bank Statement: For bank statements.
- Credit Card: For credit card statements.
- Investment: For investment forms or investment statements.
- Tax Forms: For tax forms.
- Financial Statement: For financial statements.
- Plaid JSON Files: For Plaid JSON files.
- MoneyThumb JSON Files: If you have MoneyThumb JSON files, use this option. For details about these files, see MoneyThumb JSON (MTJson) Example.
- Application Form: For application forms.
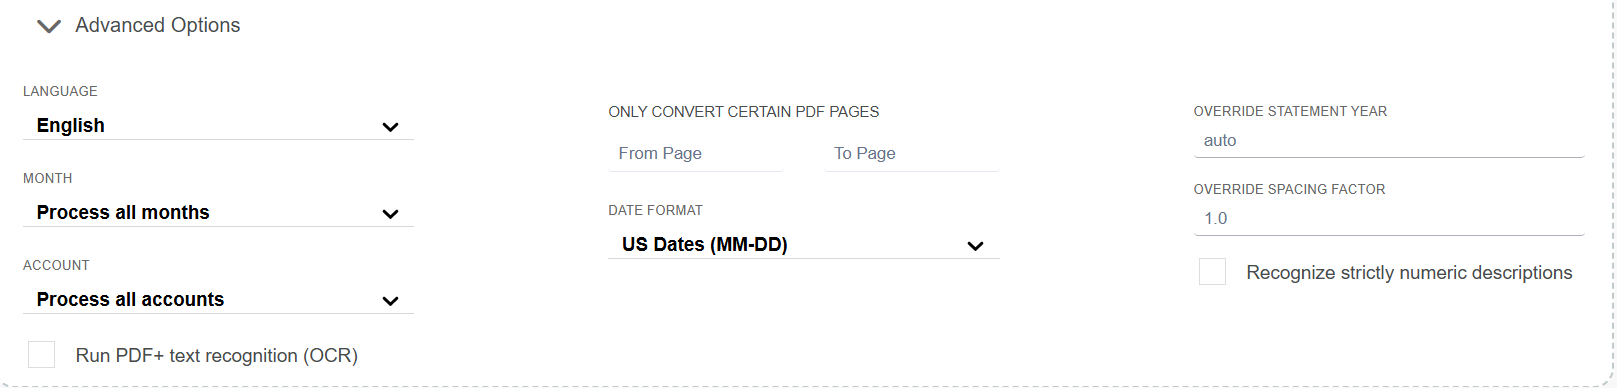
The Advanced Options section allows you to:
- Set the language of the statement, if not automatically detected.
- Determine which statement or account to process.
- Process the statement with OCR.
- Process select pages of the file.
- Set the date format present in the file.
- Input the year of the statement if not automatically detected.
- Set the spacing factor of the text in the statement. 0.5 for narrow and 3.0 for widely spaced.
- Select to process transactions with only numeric descriptions.
If you select Application Form as the document type, the Advanced Options section doesn't appear.
If you need to quickly upload files without setting document type options, collapse the Convert Documents section and click Import Document. Insights UI automatically detects the file type and converts it.

To watermark a PDF, click the More Options menu in the Statement section and select Watermark PDF.
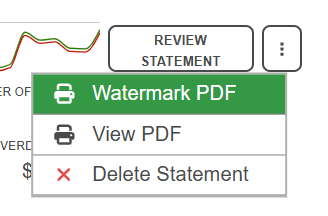
If you don't see this option, contact your administrator.
If you need further assistance, select Contact Support.
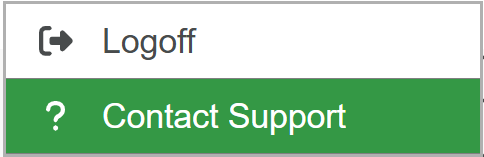
Then, follow the instructions in the Support Portal.